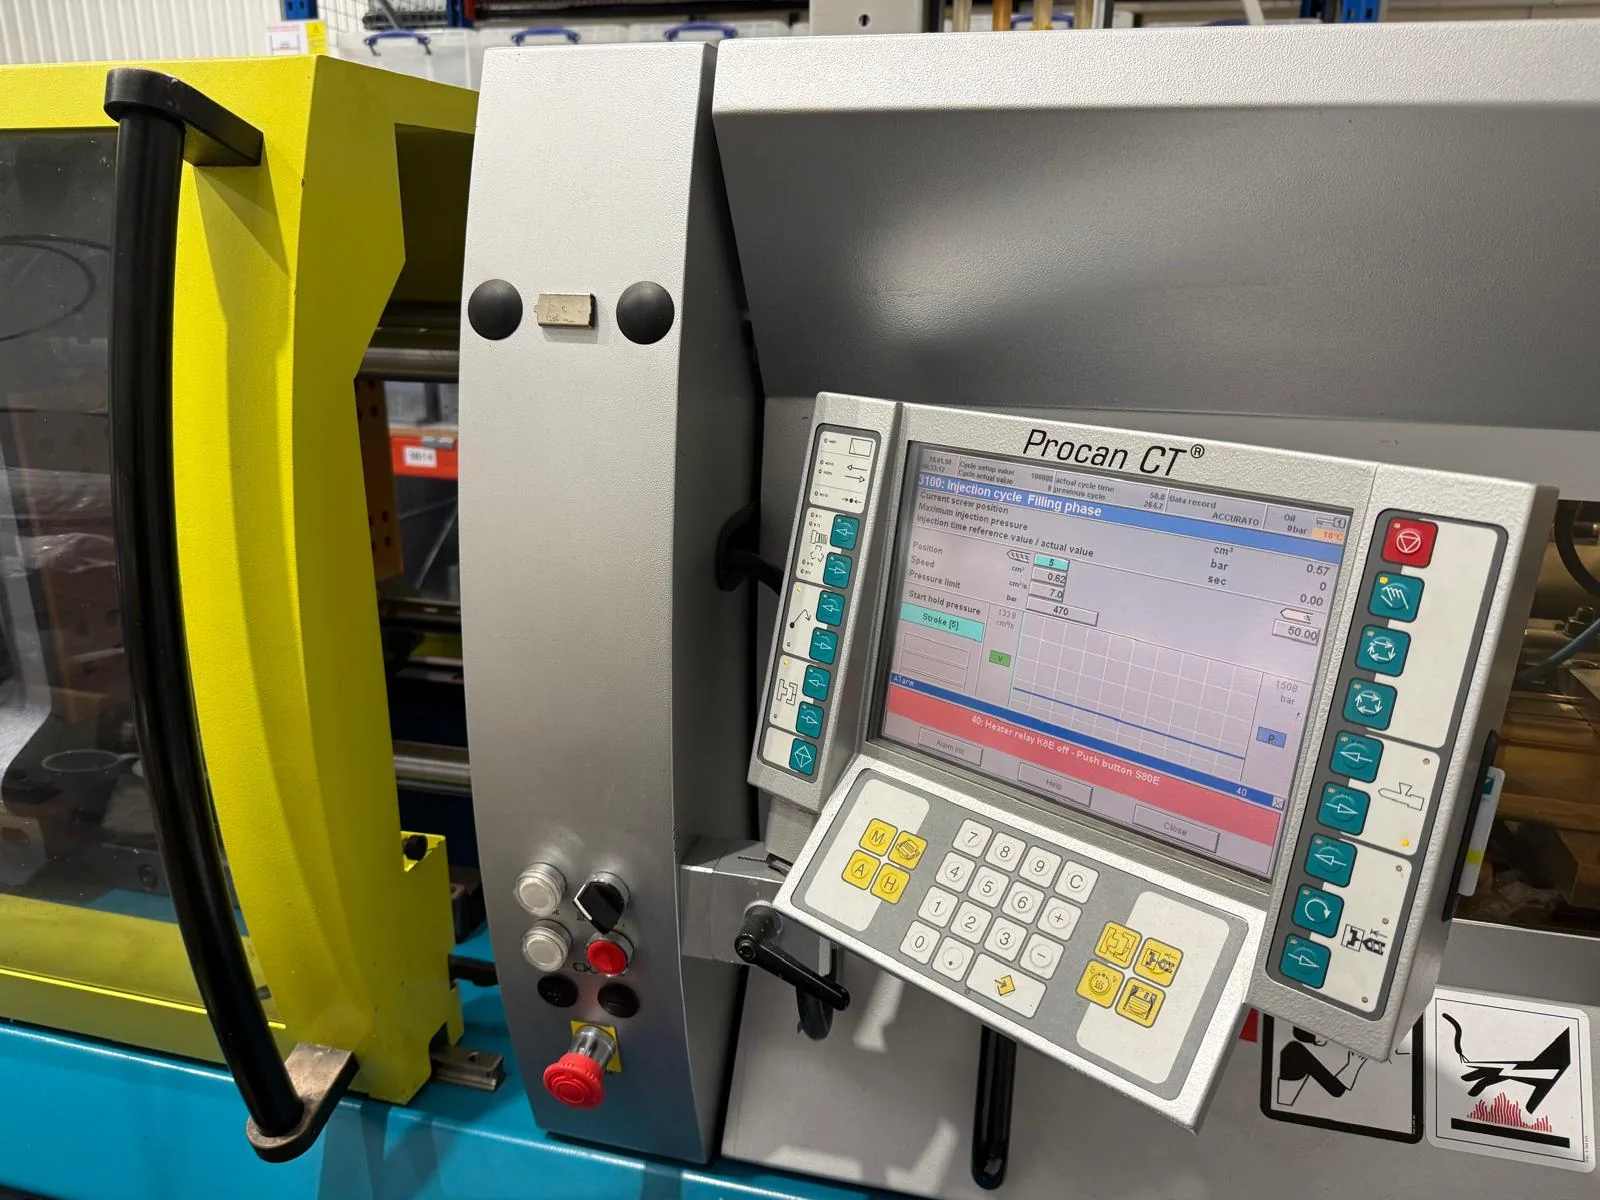
Overmoulding is an injection moulding process that combines two materials in one finished part. The first moulded component, known as the substrate or base part, is placed into a tool and a second material is moulded over or around selected areas. Over moulding, spelled overmolding in the US, is often used to add grip, sealing, cushioning or protection.
How overmoulding works
The process is straightforward in principle:
- The substrate, or base part, is moulded first.
- The substrate is positioned in a second cavity or tool.
- The overmould material is injected over or around the required area and bonds to the substrate as it sets or cures.
In practice, the engineering work sits in material compatibility, interface design and processing. Those factors determine whether the bond remains reliable in use.
Two-shot moulding vs pick-and-place
There are two common ways to manufacture an overmoulded part.
Two-shot moulding, also called 2K moulding, produces the substrate and the overmould in one automated production sequence. The second material is applied soon after the first shot, while the substrate is still warm. This reduces manual handling between stages, but it requires more specialised tooling and equipment.
Pick-and-place overmoulding uses separate moulding stages. A batch of substrate parts is produced first, then each substrate is loaded into another tool for the second material to be moulded around it. The tooling is generally simpler, but the manual transfer adds handling and labour to each part.
Two-shot shifts more cost into tooling and automation, with less manual handling during production. Pick-and-place uses simpler tooling and is often more practical for development work and lower production volumes, although the unit cost can be higher.
The right method depends on expected volume, how settled the design is, the material combination and the bond performance required.
The bond between materials
Bonding is one of the key engineering considerations in overmoulding. The joint between the materials may be exposed to pulling, shearing or peeling forces in service, so the interface has to be designed around the loads the finished part will see.
Chemical bonding depends on the specific substrate and overmould materials. Good wetting increases contact between the two materials and gives more opportunity for adhesion. Temperature, material viscosity, surface texture, fillers, additives and surface condition can all affect the bond.
Mechanical features can also help hold the two materials together. Undercuts, holes, grooves and interlocking features allow the second material to lock physically around the substrate instead of relying only on adhesion at the interface. These features can be used alongside chemical bonding where additional retention is needed.
The process also affects the bond. In two-shot moulding, the second material is applied while the substrate is still warm, which can improve chemical bonding. In pick-and-place moulding, the substrate is allowed to cool and is handled before the second moulding stage, so keeping the bonding surface clean becomes more important.
Gemini has developed a process for overmoulding silicone onto a thermoplastic substrate. A special surface treatment is used to create a permanent bond between the silicone and the thermoplastic. That capability is particularly relevant where a rigid moulded body needs a soft silicone feature, seal or contact surface.
Overmoulding vs insert moulding
The terms are related, but they solve different design problems.
Overmoulding normally combines a moulded substrate with a second plastic, elastomer or silicone material. The aim may be to add grip, a soft-touch surface, sealing, impact protection or another function that the substrate cannot provide on its own.
Insert moulding, or insert molding in the US, places a pre-formed component into the mould before plastic is injected around it. The insert is often metal, such as a threaded bush, electrical contact, pin or sleeve. The aim is usually to build a separate functional component into the moulded part and remove a later assembly step.
| Question | Overmoulding | Insert moulding |
|---|---|---|
| What is added? | A second moulded material | A pre-formed insert |
| Typical substrate or insert | Plastic or another moulded substrate | Often metal, but not always |
| Typical purpose | Grip, sealing, cushioning, protection, multi-material function | Threads, reinforcement, electrical or mechanical features |
| Main design risk | Bond between materials | Retention and position of the insert |
| Tooling | One complex two-shot tool or separate tools | Tool must locate and retain the insert during moulding |
Overmoulding can remove a separate assembly step and add a property that the substrate does not have, but it requires compatible materials and reliable bonding. Insert moulding can integrate threads, contacts or reinforcing features, but the tool has to locate and retain the insert during injection.
Use this quick check:
- Choose overmoulding when the part needs a second moulded material to change how it feels, seals, flexes or responds to impact.
- Choose insert moulding when a separate component needs to become part of the moulding, particularly a threaded, electrical or mechanical insert.
- Some components may use both approaches when they need an insert as well as a second moulded material.
Materials used in overmoulding
Choosing overmoulding materials usually starts with a relatively rigid substrate and a softer second material.
Thermoplastic elastomers (TPEs) are widely used over harder plastics for grips, cushioning and flexible features. Thermoplastic polyurethane (TPU) can be used where elasticity and abrasion resistance are important. Other elastomeric materials can also be used where the part needs a softer or more flexible outer section, which is where rubber overmoulding is usually specified.
Silicone is another option where the finished part needs a soft, resilient or sealing feature.
Material names alone are not enough to confirm compatibility. Different grades within the same polymer family can contain additives, reinforcements or surface treatments that change adhesion. The substrate, overmould material, service environment and required bond strength need to be considered together.
For a broader comparison of common substrate plastics, see Gemini’s guide to injection moulding materials.
Applications of overmoulding
Overmoulding is useful when two different material behaviours are needed in the same component. Common applications include:
- hand tools and controls, where a softer layer improves grip and reduces pressure on the hand
- toothbrushes and consumer products, where rigid and flexible areas are moulded into one part
- medical devices, where overmoulded sections can provide grip, cushioning or sealing
- gaskets and seals, where a softer material can be incorporated directly into a rigid body
- housings and assemblies that need local shock absorption, vibration damping or protection
Overmoulding can reduce separate assembly by moulding the second material directly onto the base part, while placing the softer or more resilient material only where it is needed.
Design considerations for overmoulded parts
Material compatibility
Check the actual substrate and overmould grades, not only the polymer family. Adhesion, processing temperature and service conditions all matter.
Design for bonding
Do not rely on chemical adhesion alone where bond failure would matter. Holes, undercuts, grooves or interlocking geometry can give the overmould a mechanical hold on the substrate.
Keep wall thickness controlled
Large changes in section can create uneven filling, cooling and shrinkage. Keep the overmould thickness as consistent as the function allows and avoid unnecessarily heavy sections.
Allow for ejection
Draft still matters. Faces that run in the direction of tool opening need enough draft for the finished part to release without dragging or damaging the softer material.
Use radii instead of sharp internal corners
Rounded transitions improve material flow and reduce local stress. They are particularly useful where a flexible overmould meets a rigid substrate and repeated loading could concentrate stress at the edge of the bond.
Gate position and venting also need to be reviewed around the actual component. They affect how the second material fills the cavity, where air can escape and where flow marks or trapped air may occur.
Frequently asked questions
What is the difference between overmoulding and two-shot moulding?
Overmoulding describes the process of moulding one material over another. Two-shot moulding is one way of doing it. Two-shot production moulds the substrate and overmould in one automated sequence, while pick-and-place overmoulding uses separate moulding stages.
Is overmoulding the same as insert moulding?
No, although the processes are closely related. Overmoulding usually adds a second moulded material to a substrate. Insert moulding places a pre-formed insert, often metal, into the tool and moulds plastic around it. The first is usually about combining material properties; the second is usually about integrating a separate functional component.
What materials can be overmoulded?
Common combinations include a rigid thermoplastic substrate with TPE, TPU or another softer polymer. Silicone can also be overmoulded onto suitable plastic substrates. The exact grades must be checked for compatibility, because bond strength depends on material chemistry, processing conditions, surface condition and part design.
What causes an overmould to peel away?
Poor material compatibility, contamination, inadequate surface preparation, weak part geometry or unsuitable processing conditions can all reduce bond strength. Mechanical retention features such as undercuts or through-holes can help where the design cannot rely on adhesion alone.
Discuss an overmoulded part
If your component needs two materials combined into one moulded part, send Gemini a drawing, STEP file or photo of the part. The team can review the materials, bonding requirements, part design and tooling route and advise on the most suitable way to manufacture it.